

DIY String Lamp
This lamp at Design Within Reach is beautiful. It is made from fiberglass,  and it is $980.
I made mine, albeit somewhat smaller, and of humbler materials, for about a hundredth of that. Here's how, with nods to these helpful tutorials.
Supplies:
1 17" balloon, inflated at store
1 150 yard skein of hemp yarn
1 bottle Elmer's glue
1 cord set (mine was Hemma, from Ikea)
1 metal hanger
White paint (optional)
Step 1: Prepare working surface. I cut open a plastic bag for a drop cloth, and wore grubby clothes. This gets really messy! Draw a circle around the tied end of the balloon; I used a Sharpie and a margarine lid for mine.
Step 2:  Pour the glue into a small container and water it down a bit, maybe to the consistency of thickish syrup. You want to be able to coat the string easily, but ideally not have it dripping everywhere. David, my amazing assistant, helped untangle and feed me the string.
Step 3: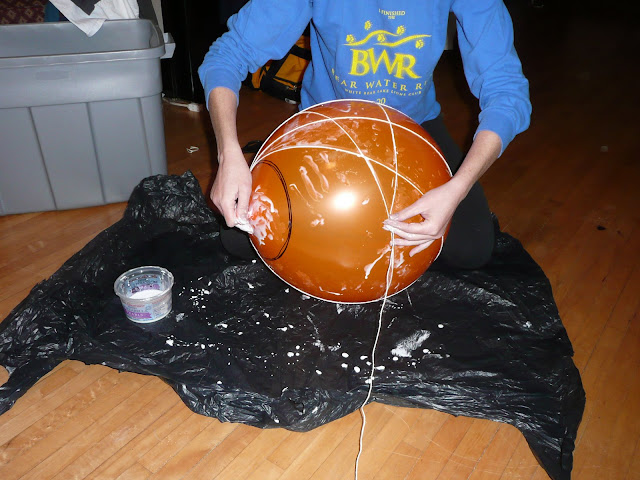 Apply glue to the string and begin wrapping the balloon. What worked best for me was to get my hand gluey and then pull the string through it as I applied it to the balloon. I think a handful of glue would last me maybe three feet, but this would depend on the consistency of your glue, thickness of your string, and, presumably, the size of your hands.
 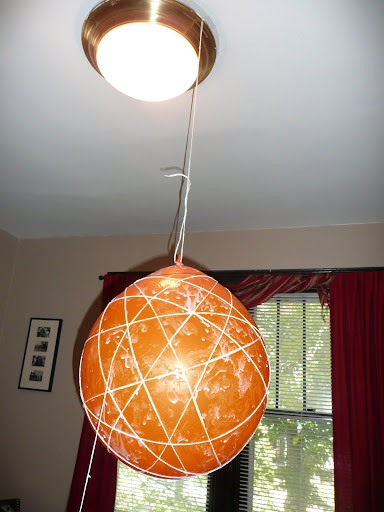 Apply string around the borders of the circle you've drawn, but not through it, and aim for a nice, random, all-over application of the string.
 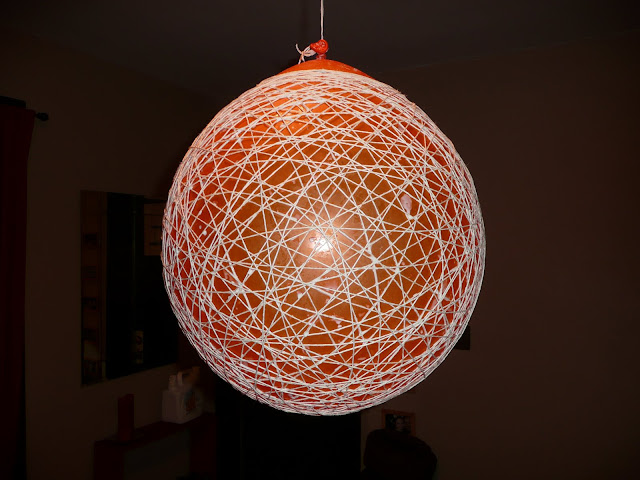 After the first 10 or 12 loops, I felt like my string was sliding around, so I let everything dry before continuing. It seemed to make applying the next layers easier, as everything felt more stable.
Step 4:
When you've applied the desired amount of string and let everything dry, deflate the balloon, ideally as slowly as possible. 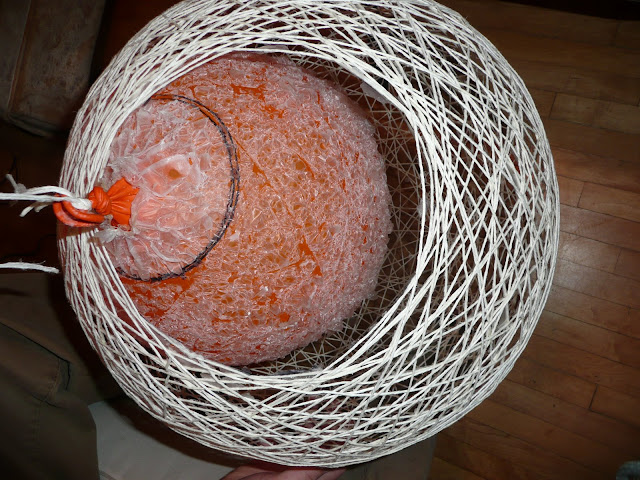 I sort of pulled the neck tight and made a small incision that I could control. In some places the string stuck to the balloon, and I poked it free without trauma. Pull the deflated (and possibly awesome-looking) balloon free and admire your incredible handiwork!
Step 5: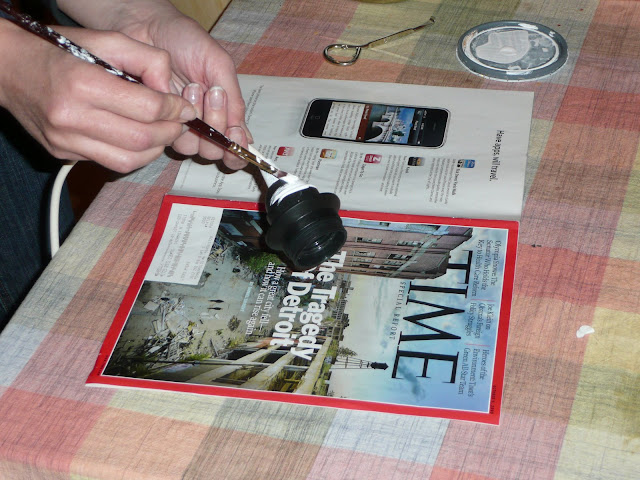 Attach the cord set (which I painted white, for looks) and light bulb (I used the biggest frosted globe I could find) to the shade. I cut a piece of wire hanger to slightly longer than the width of the opening, inserted it into holes formed by the string, bent up the ends for stability, then used a wire twist-tie to secure the cord to the center of the hanger crossbar. Oh! To straighten the kinks out of the cord, I dipped each section briefly in boiling water and then used a towel to very gently pull it straight.
Ta-da! The DWR lamp doesn't include a light bulb, so even though  I bought rather expensive hemp yarn, I figure I still saved at least $960. I found some great string at Savers, probably enough to make three or four lamps, for only $3, so I think I'll try another lamp for the living room!
UPDATE: Check out the much smaller versions we made for Christmas ornaments!
![]()
7 comments:
It looks great, but I was wondering if it casts neat shadows or how it functions. Does it shade?
cableat: TV for goats
ounsu
sorry, but I couldn't help but share the next word: equistma.
Oh, awesome! You should share this on apartment therapy or something like that. They'd love it.
I wondered the same thing Daniel did...how's the light it casts?
I wonder if I could do this for my apartment...all the rooms have big ceiling fans already, so it cuts down on options.
But my question is, why we shouldn't we ignore the problems of the rich?
reartiq
yay! i was hoping you were going to post this. i tried a papier-mache balloon-based lampshade once and ruined it when i popped the balloon, so the tip about the deflating process was helpful (why didn't that occur to me?). anyway, i love the light.
oh, and curly sue, how about making one for a desk/table lamp instead of a hanging one?
nesslymo!
Beautiful!
I contemplated trying something along these lines for my Halloween costume since I had to be a spider-human hybrid. I was going to create a spider web backdrop out of wire (kind of like the high-collars of the Elizabethan Age). Anyway, ran out of time, but wish it had come to fruition... I think it might have looked cool!
Maybe you could find a huge beach ball somewhere to create a bigger one!! :)
Thanks, all!
Daniel, its purpose is mostly aesthetic, but it does shade; it would do the latter to a greater extent if I had used more string, but as it is I really like the frosted bulb for softening the light. I don't really notice cool shadows--maybe because of that softness?
Oh, and yes, the idea of doing this for a table lamp or floor lamp is an excellent one!
And Adrianna, that collar sounds AMAZING. I can picture using a wire armature and then wrapping string for the webs. I like architectural couture! Maybe next year's costume...
Post a Comment